Set Up Proxmox As A Portacode Infra Node
First, pair your Proxmox host the same way you pair any other device: Pair Device.
Once paired, the Portacode SDK detects it as a Proxmox device. Its card icon changes to the Proxmox icon. Click that icon to open the device info modal.
In the modal, go to the Proxmox section and click Configure. This setup can take a few minutes, especially if you keep template download options enabled.
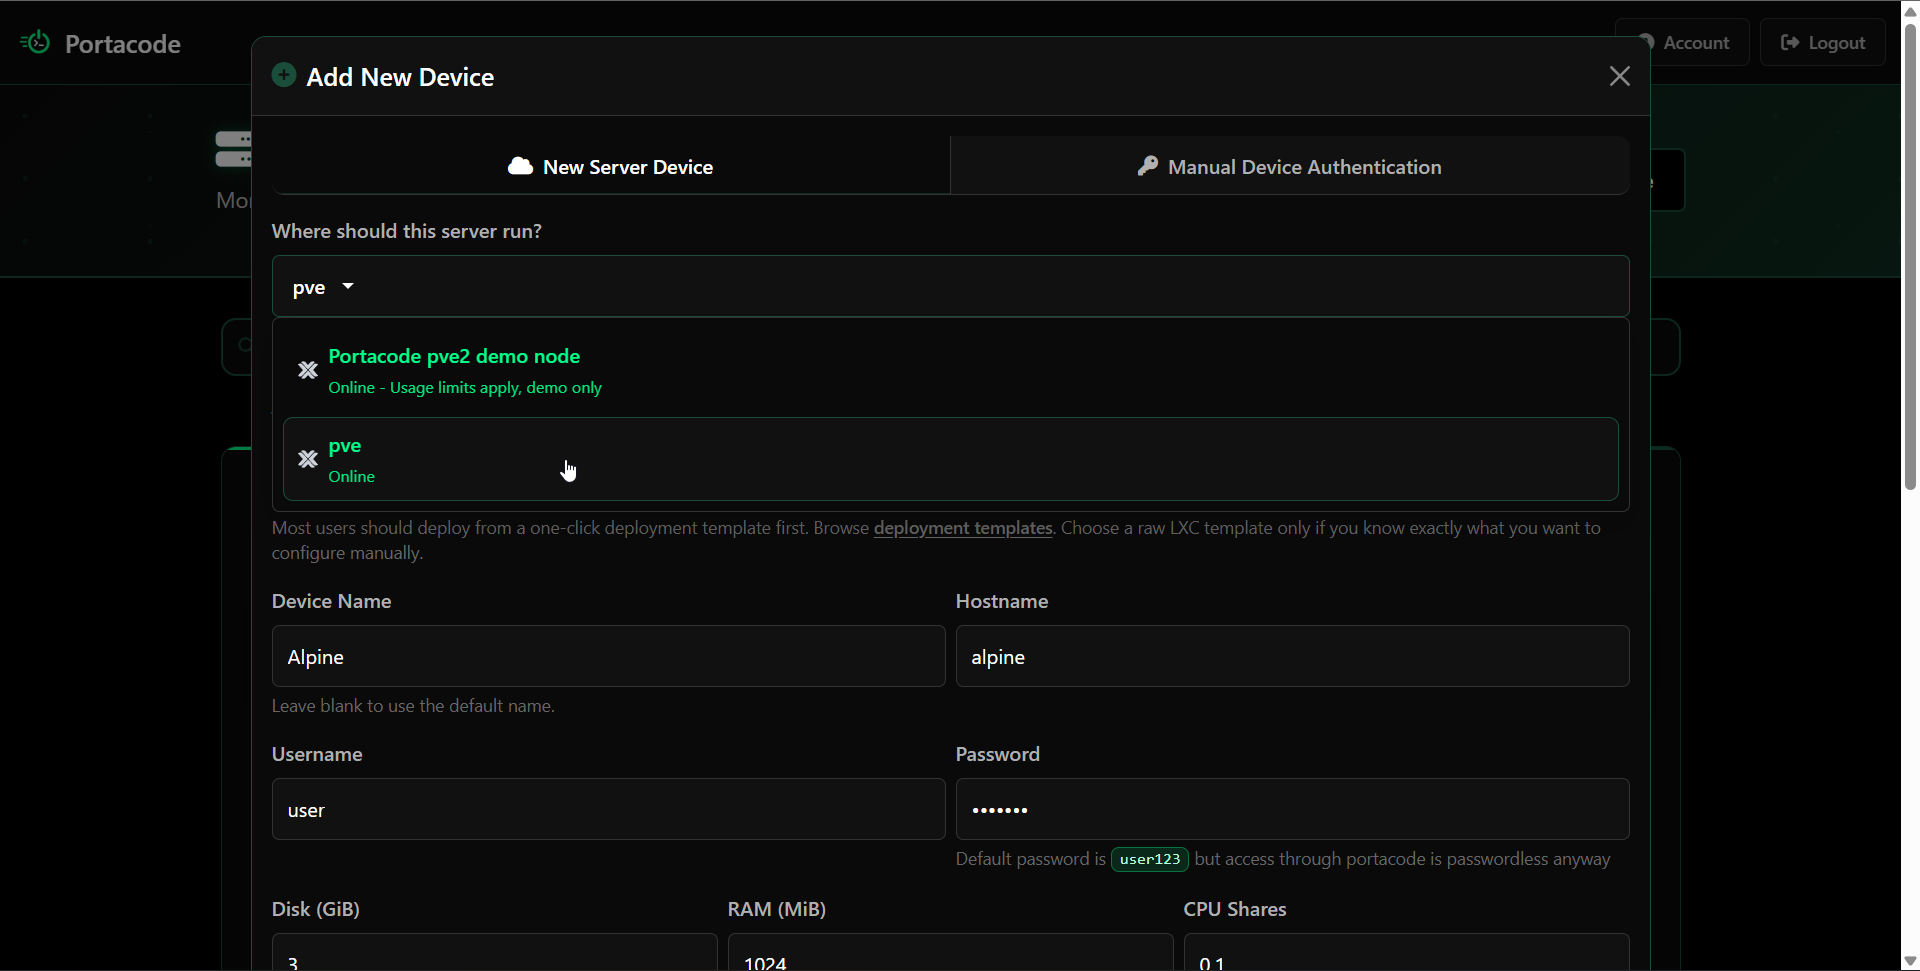
When it finishes, confirm it by opening Add Device. Alongside demo nodes, your own Proxmox node should appear and be selectable for auto-deploy.
After configuration, the same Proxmox section also shows resource utilization breakdown (RAM, disk, CPU) and managed-container usage.
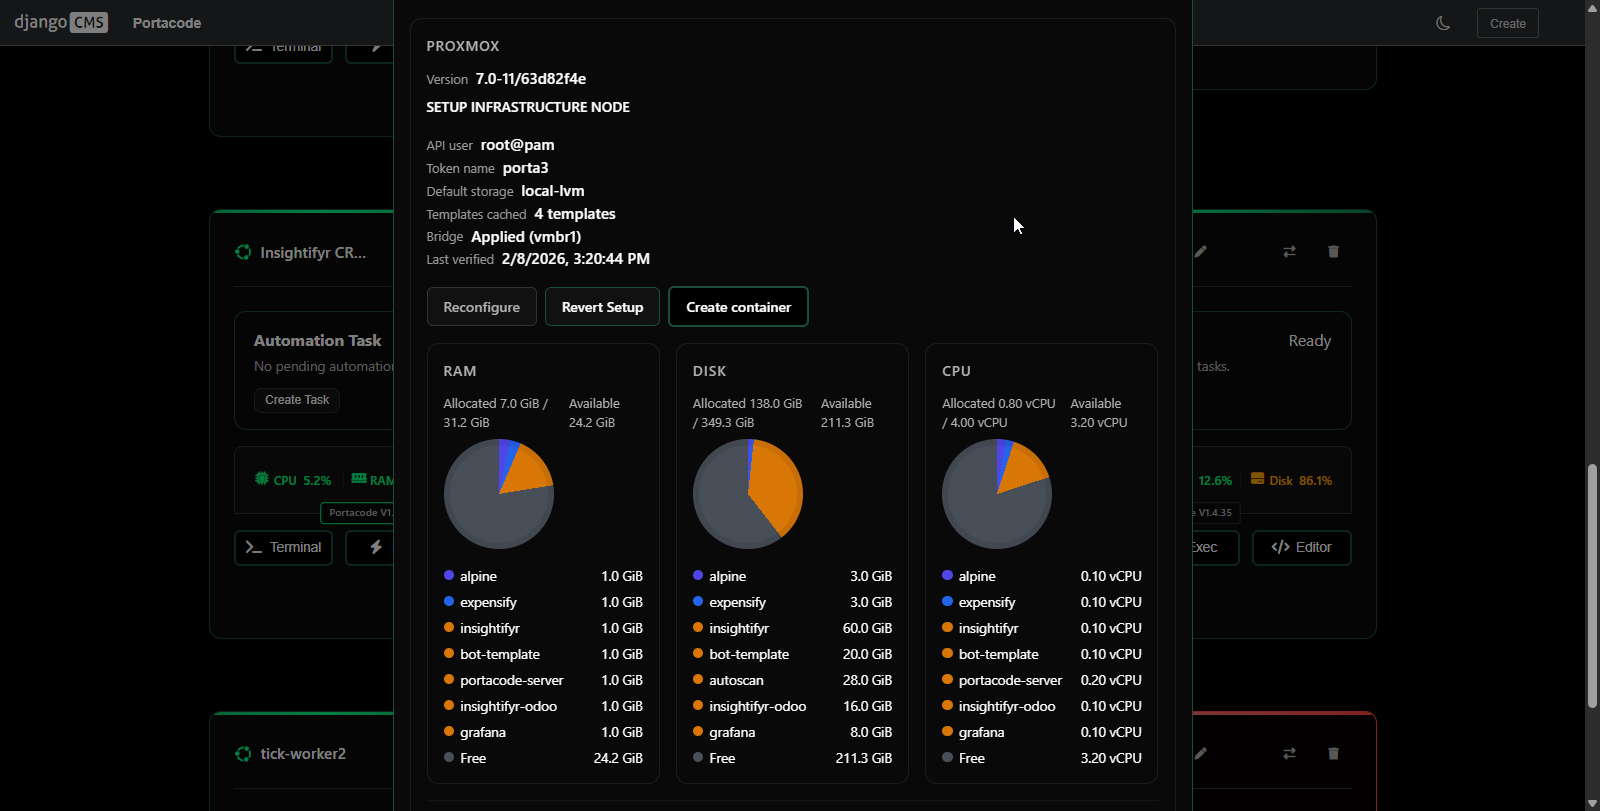
From this view, Portacode can create containers remotely and programmatically while matching requested resources against what is currently available on that node.
To automate those deployments with YAML (source_template, resources, instructions, expose_ports), use:
Portacode CI/CD Intro.
At this point your Proxmox node is ready for deployment.
To expose services over HTTPS (for example via expose_ports), you must also authorize a domain with Cloudflare Tunnel:
Connect A Device To A Domain (Cloudflare Tunnel).