Pair Device
Use a short-lived pairing code to connect an existing Linux/Python-capable device to your Portacode account.
If you only want the fastest first run, you can start with One-Click Deployment Templates on our demo proxmox node (no pairing required).
Fastest Path
If you are pairing a device for the first time, you do not need to manually install Python packages or create the virtualenv yourself.
Most Linux devices
Run this on the target device and replace 8232 with your active pairing code:
curl -fsSL https://portacode.com/static/activate_portacode.sh | bash -s -- --pairing-code 8232
The script installs Python requirements if needed, creates the Portacode virtualenv when missing, installs or upgrades portacode, runs portacode connect --exit-after-setup with your pairing code, and then installs the persistent Portacode service with portacode service install.
Proxmox node for self-hosted infra
Run this as root on the Proxmox node:
curl -fsSL https://portacode.com/static/activate_portacode.sh | bash -s -- --pairing-code 8232 --setup-proxmox-infra
That does the same install/bootstrap work and then asks Portacode to run the same Proxmox infra setup used by the dashboard. If setup fails with what looks like a temporary network problem, Portacode retries automatically.
Optional: choose which template families to prefetch during Proxmox setup:
curl -fsSL https://portacode.com/static/activate_portacode.sh | bash -s -- \
  --pairing-code 8232 \
  --setup-proxmox-infra \
  --proxmox-template-family ubuntu \
  --proxmox-template-family alpine
Manual Setup
If you prefer to install Portacode yourself, use the manual steps below.
1. Prepare the Device
Install Python, pip, and virtual environment support:
# Debian / Ubuntu (including Proxmox/Debian hosts)
# Run as root on Proxmox; on regular Debian/Ubuntu you can prefix with sudo.
# If enterprise repos are disabled, `apt update` may warn/fail until repos are adjusted.
apt update && apt install -y python3 python3-pip python3-venv

# Fedora / RHEL / Rocky / Alma
sudo dnf install -y python3 python3-pip

# Arch
sudo pacman -Sy --needed python python-pip

# Alpine
sudo apk add python3 py3-pip py3-virtualenv

# openSUSE
sudo zypper install -y python3 python3-pip python3-virtualenv
Create a dedicated Portacode virtual environment and install the CLI:
python3 -m venv /opt/portacode-venv
/opt/portacode-venv/bin/python -m pip install --upgrade pip
/opt/portacode-venv/bin/python -m pip install --upgrade portacode
Modern Linux distros often block system-level pip install (PEP 668 / externally-managed Python). Installing Portacode in a venv avoids that issue.
If you want portacode to be available directly in shell PATH:
echo 'export PATH=/opt/portacode-venv/bin:$PATH' | sudo tee /etc/profile.d/portacode_path.sh >/dev/null
export PATH=/opt/portacode-venv/bin:$PATH
2. Generate a Pairing Code
- Log in to
https://portacode.comand click Pair Device on the dashboard.
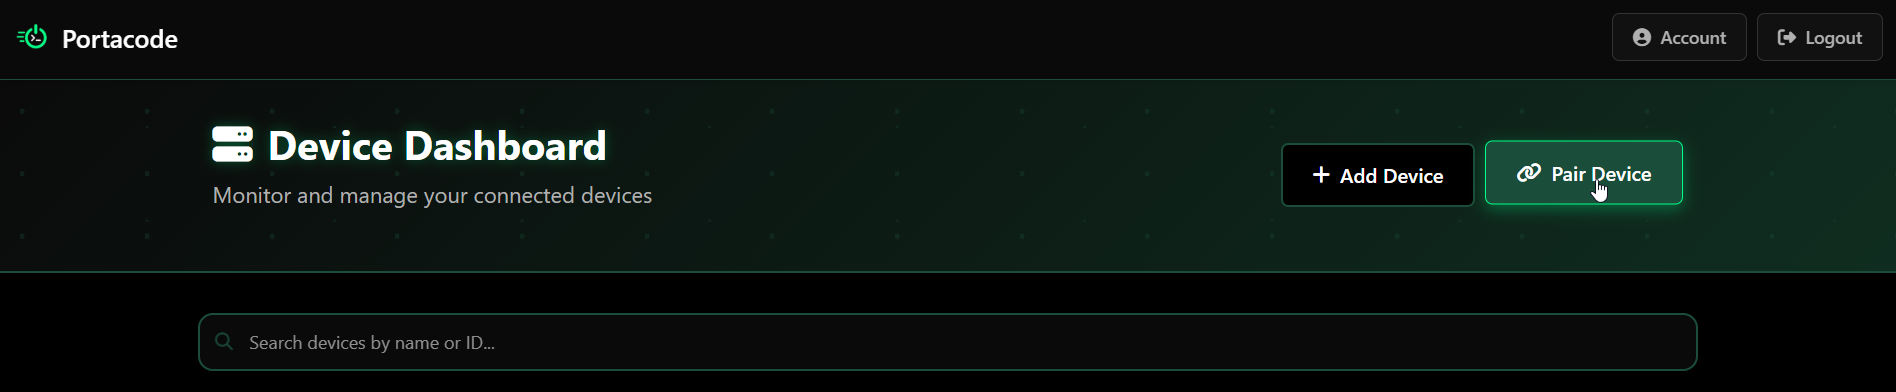
- A four-digit code appears (valid for 15 minutes).
3. Connect the Device
Run portacode connect on the device using the pairing code from your dashboard. You do not need to activate the venv when using the full binary path:
/opt/portacode-venv/bin/portacode connect \
  --pairing-code 8232 \
  --device-name "My Linux Device" \
  --project-path /srv/project-one \
  --project-path /srv/project-two
4. Approve the Pairing Request
- A pairing request appears in your dashboard:
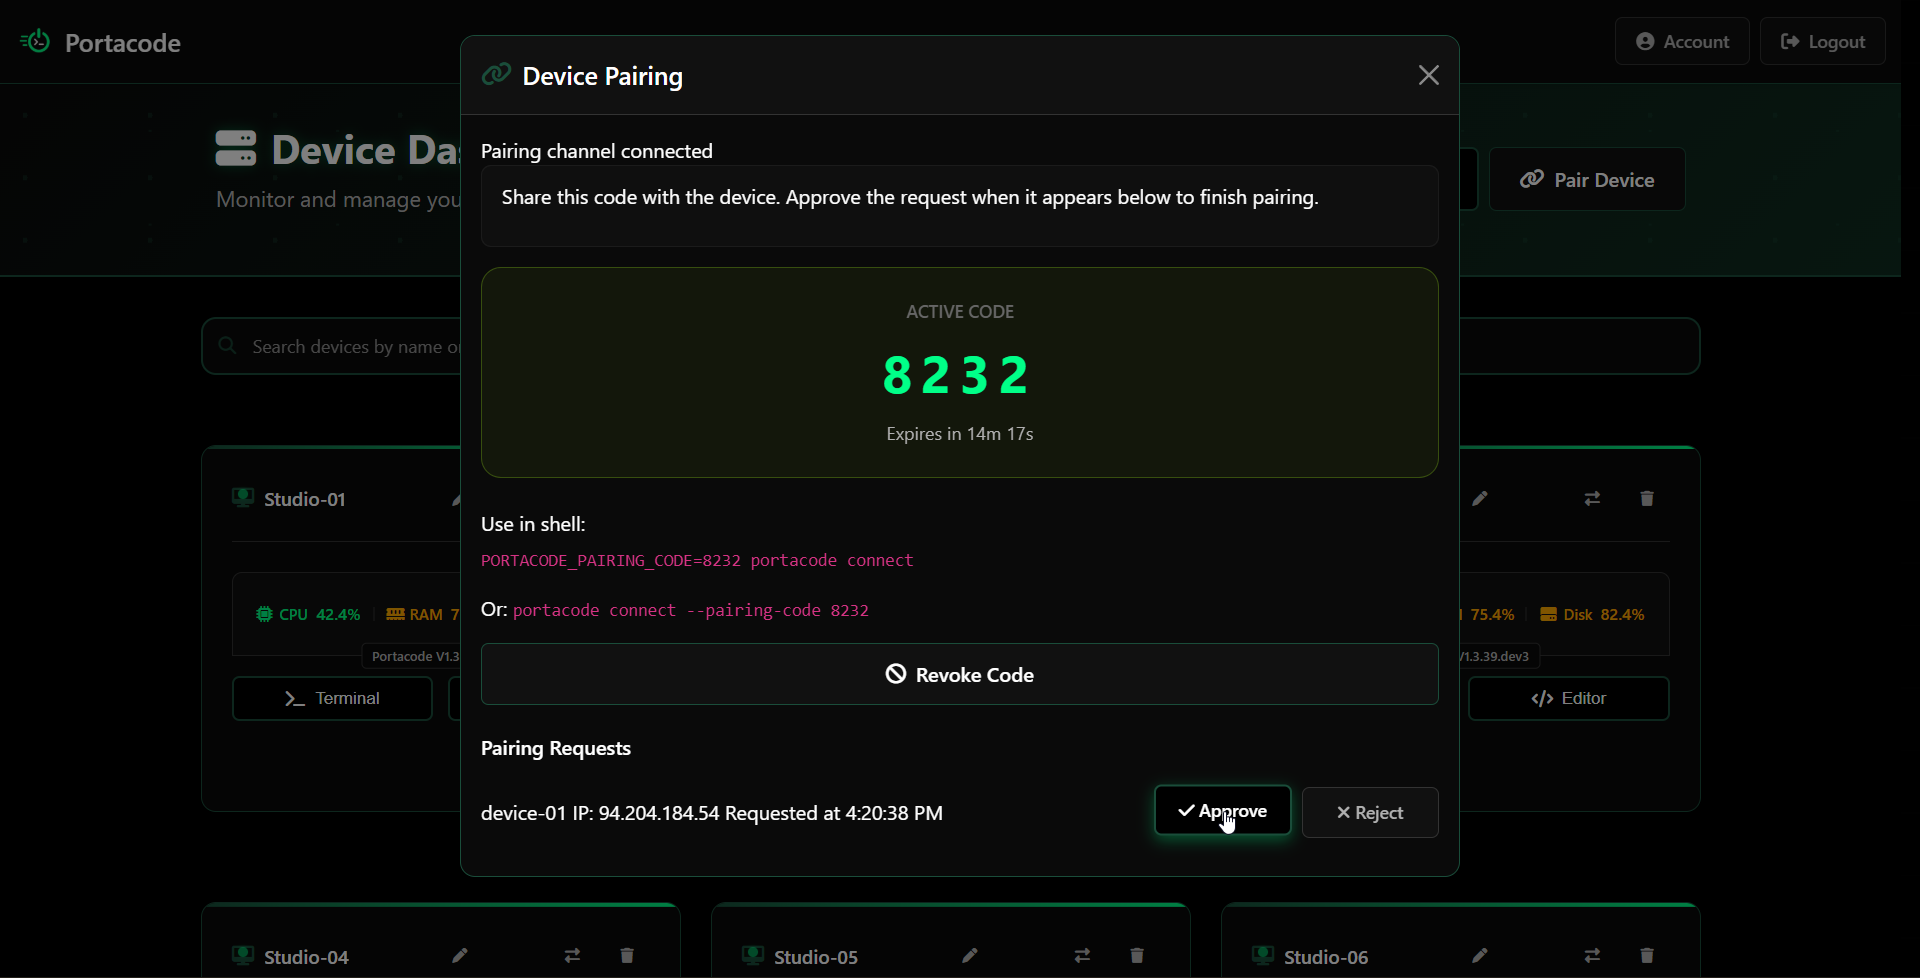
- Click Approve to complete pairing.
What Next?
- If you paired a Linux device and want to run automation on it, continue with AutomationTask Params.
- If you paired a Proxmox device and want to use it as Portacode infrastructure, continue with Set Up Proxmox As A Portacode Infra Node.